This post contains Affiliate Links. Read my full disclosure for more info.
Rib membrane removal is the most overlooked or just plain skipped step in cooking ribs among beginner grillers and barbecuers. Most fledgling grillmasters either don’t know the membrane is there or they don’t want to take the time to remove it. That is a huge mistake.
I know how impatient you feel when you get a good rack of ribs. You want to start cooking them right away! But a little prep work now will save the entire recipe later.
You wouldn’t want to waste all the time and effort you put into a really good rack of smoked baby back ribs by skipping one step, would you?
After you remove the rib membranes from your ribs, head over to my delicious and lip-smacking smoked baby back ribs recipe. You won’t regret it!
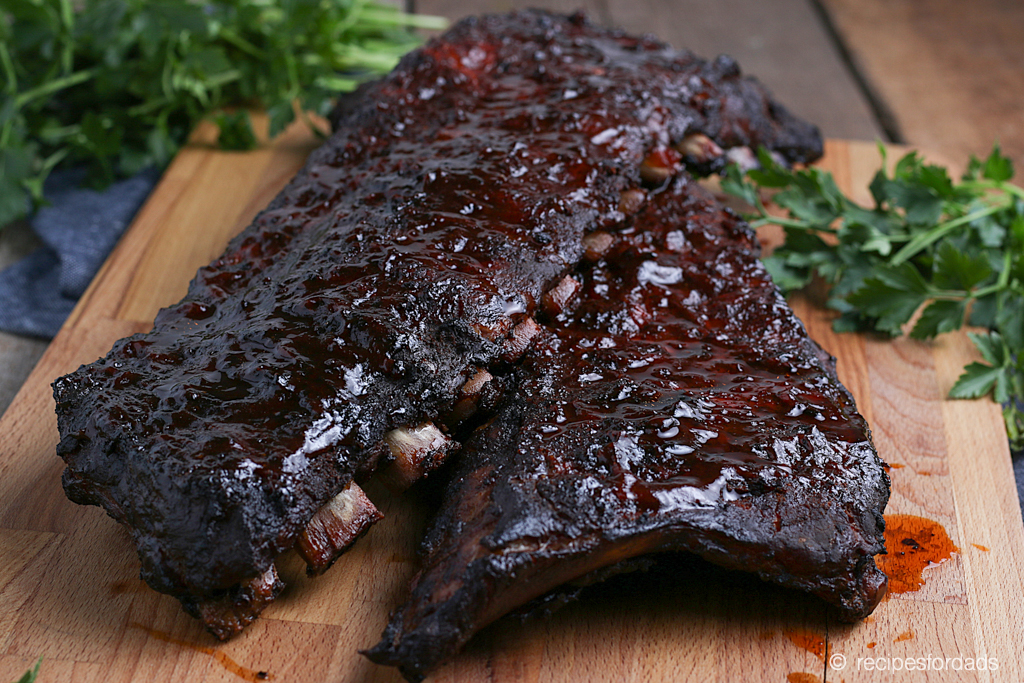
While removing the membrane on ribs before cooking can take a bit of time, it’s well worth it in the long run, and that’s what we’re going to be talking about today.
We’re covering what this membrane is, why it’s important to remove it, and how to do it. So let’s get to it.
Understanding the Rib Membrane
If you’ve only eaten ribs in a restaurant and never actually made them, you may not even know that the rib membrane exists. That’s because you will never, ever, under any circumstances find ribs served at a restaurant with this membrane intact. It’s inedible and ruins the bite of the ribs.
So what is the rib membrane anyway?
What we call the rib membrane is actually called the parietal peritoneum, or the abdominal sack. It’s what keeps all mammals’ organs and muscles where they’re supposed to be and doing what they’re supposed to be doing.
You’ll also hear people refer to the membrane as silverskin because of its shiny, silver appearance when it’s raw.
Why Rib Membrane Removal is Key
Rib membrane removal is the most important part of cooking ribs. More than the temperature and time. More than the sauce. More than any other part of the process, rib membrane removal is key. There are a few reasons for this.
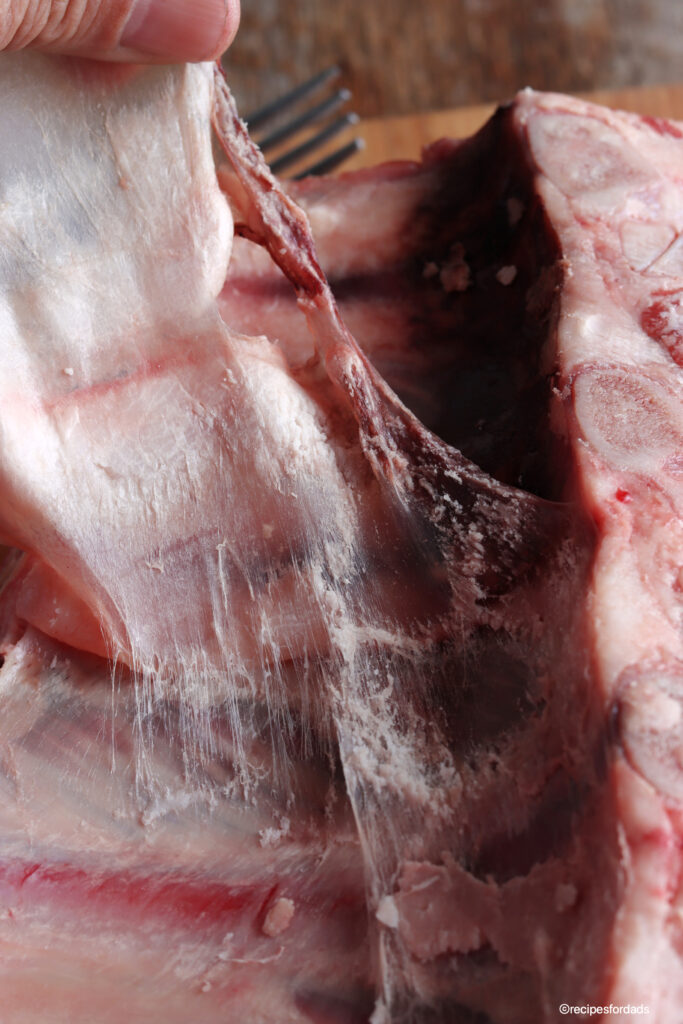
It Doesn’t Dissolve
Usually when cooking meat, fat is a good thing, especially in barbecuing. When the meat is cooked low and slow, the fat and other connective tissues will break down and gelatinize, creating a moist tender meat.
The membrane doesn’t do this. It remains tough and chewy. It’s practically inedible, and it will ruin the overall experience of eating the ribs. You want tender, fall of the bone meat, not shoe leather topped with barbecue sauce.
It’s Flavor Prohibitive
In addition to creating ribs that are unpleasant to eat, the membrane will also lead to ribs that aren’t spiced correctly.
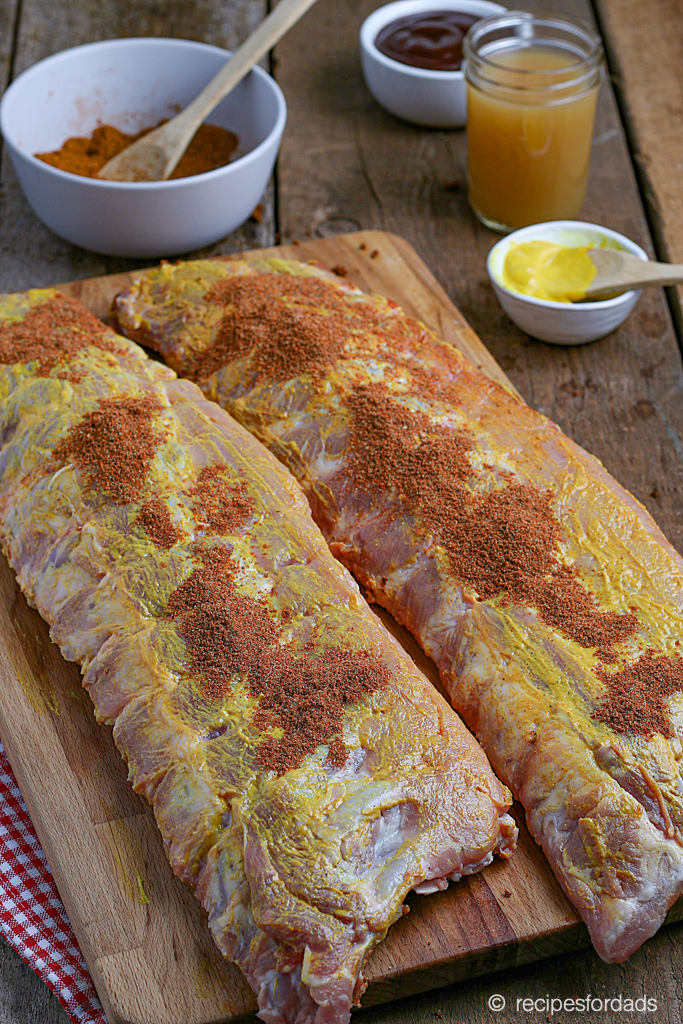
The membrane will stop smoke, marinade, spice rubs, and sauces from penetrating the meat beneath it which will lead to ribs that are perfectly seasoned on the to and completely bland on the bottom.
It Just Isn’t Good!
If the rib membrane removal step is skipped you end up with ribs that take forever to eat, have an odd texture, and aren’t evenly seasoned. It’s an all-around poor outcome.
Finding the Rib Membrane
Unless you’re on a first-name basis with your butcher and you have them over for family dinner twice a week, your ribs are going to have the membrane on them.
It takes time to remove the membrane, so businesses aren’t going to put forth the effort of removing it.
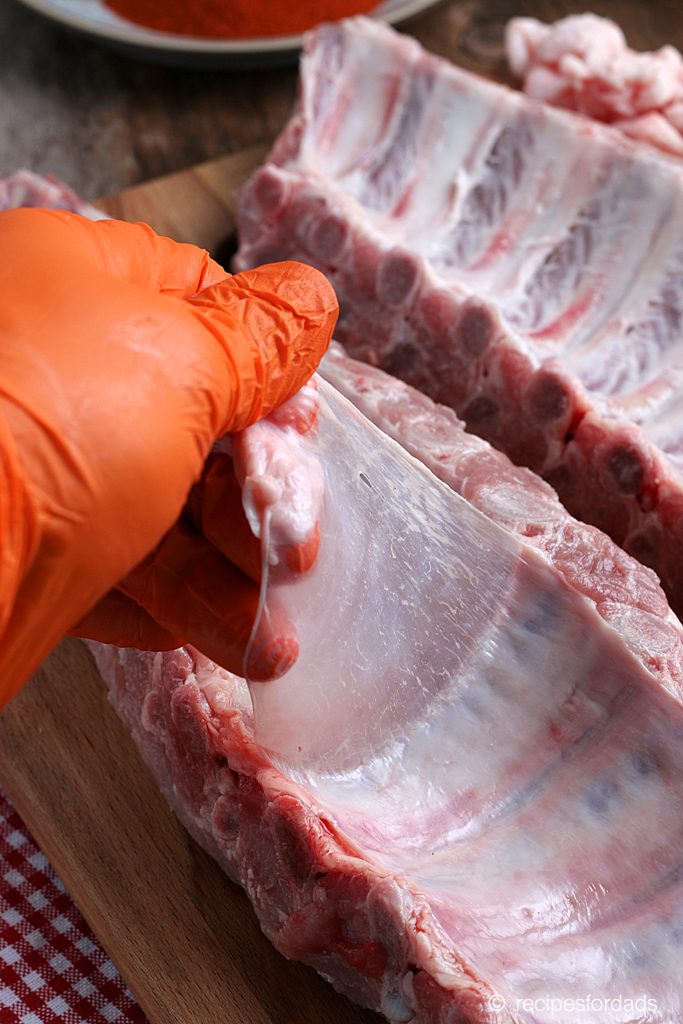
It’s easy to find the membrane on your ribs. Just flip them over so that the bone side is up. The bones should curve upward. This is the side where you’ll find the membrane.
If the membrane is there – and it almost certainly will be – you’ll see a thin, silvery-white sheet on top of the bones.
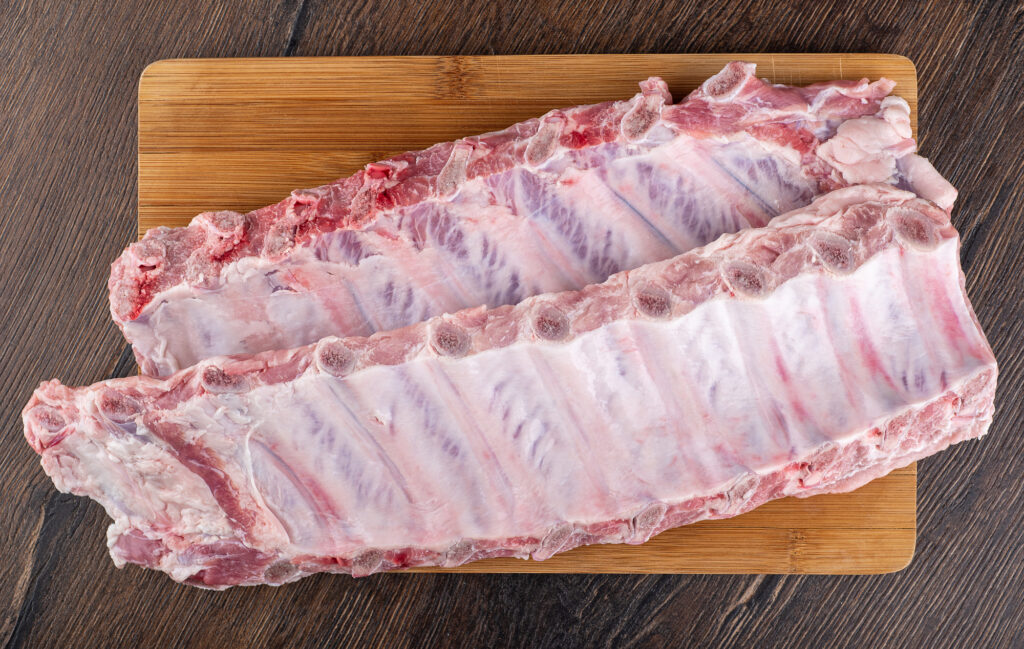
In some rib cuts, the membrane will be very thin to the point of being hard to see. In some other cuts like beef ribs, it will be very thick, looking almost like parchment paper.
Rib Membrane Removal
There are three basic methods of rib membrane removal – using a knife, using your hands, and using a combination of both. The method you choose is largely dependent on how thick and difficult to remove the membrane on your ribs is.
Knife Method
This method works especially well for St. Louis-style or spareribs which have a thinner membrane. Removing such a thin membrane by hand can be extremely difficult, but a knife works wonders.
You’ll be using either a standard boning knife or butter knife to do this.
It’s important to note that you aren’t trying to cut the membrane from the ribs with the knife. Rather, you’re using the knife to pry the membrane off of the ribs.
- Start at the center of the rack of ribs. Gently slide your knife under the membrane and above the bone with the knife on its side so that the flat of the blade is on the bone.
- Using the tip of the knife, pull up gently on the membrane as you work the knife along the length of the rib bone using a side-to-side motion. Do this until the tip of the knife comes out the other side of the rib.
- Leave the knife in place and rotate it so that the spine of the blade rests against the membrane you just loosened to create a sort of tent. Gently pull the knife up, further separating the membrane from the ribs.
- After the membrane has been separated from the first rib, lay the knife flat again and shimmy it over to the next rib, repeating the process.
- Continue in this manner until the membrane has been completely removed from the ribs.
Finger Method
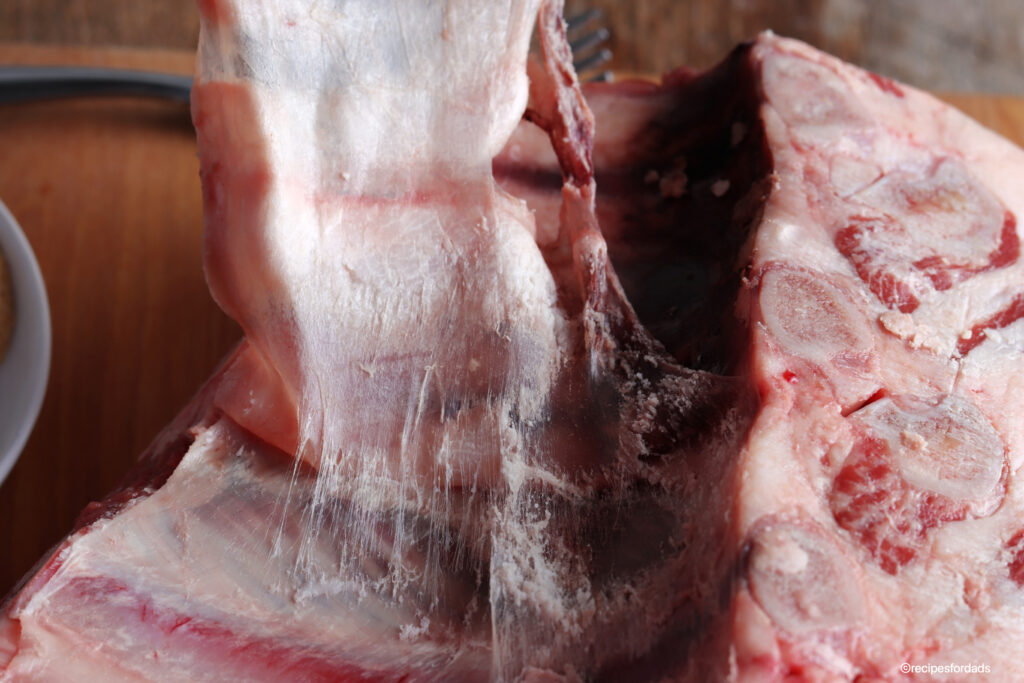
Rib membrane removal can also be done with your fingers. This method is best used with baby back and beef ribs which have a thicker membrane.
With a thicker membrane, your fingers work just fine, and it saves you the hassle of trying not to cut into your meat.
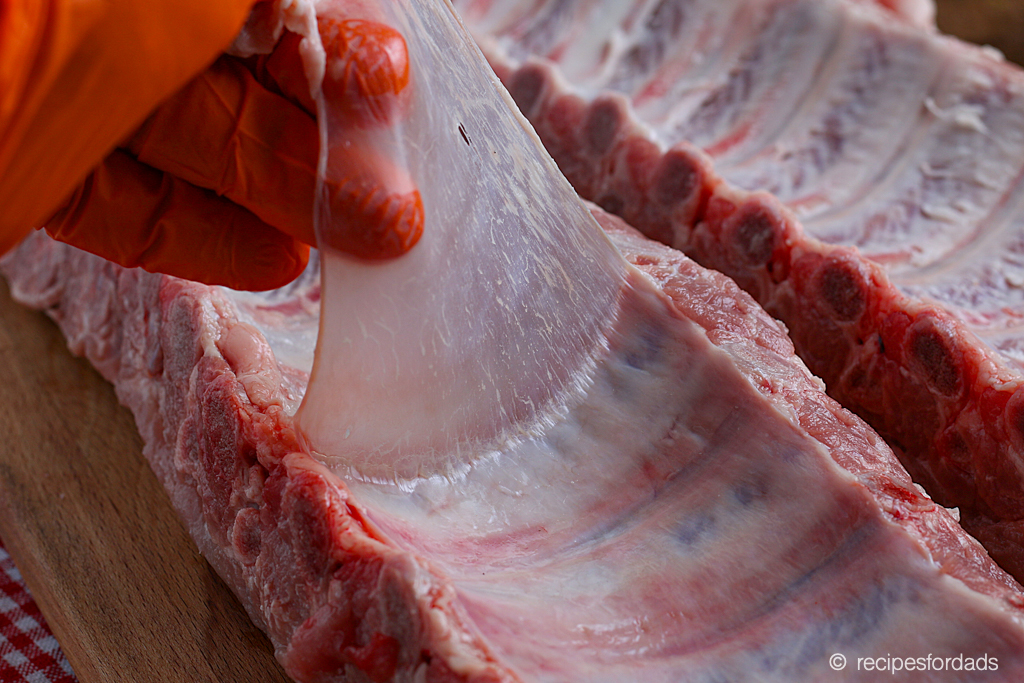
- Begin at one end of the ribs, using a knife to separate the edge of the membrane from the ribs until enough of the membrane is lose to get a grip on it. If the membrane is thick enough, you might be able to forego the knife and simply begin removing the membrane with your fingers.
- Get a good grip on the membrane and gently begin to peel it away from the ribs.
- Continue to pull gently until the membrane is completely removed from your ribs. Depending on how thick the membrane is, it might come off in one piece or it might rip a bit. If it rips, simply being the process from the ripped section.
The Knife/Finger Combo
This is the rib membrane removal method that almost everyone ends up using for almost every rib type.
The combination of knife and fingers gives you all the tools you need for any spot as you move along the ribs.
This process is a combination of the previous two methods. It begins in the same way that you use the knife method, then it transfers off to the hand method.
Basically, the knife is used to get a good space between the rib and the membrane, and then the fingers are used to gently peel off the membrane.
- Use the knife method, sliding, wiggling, and moving along the bone under the membrane until you’ve cleared the bone with the tip of your knife and made the tent.
- Once the membrane has been loosened from the rib, remove the knife and use your fingers to begin peeling the membrane away from the ribs.
- Move down the rack of ribs, using your fingers to gently lift, pull, and peel the membrane away from each rib.
Don’t Skip Rib Membrane Removal
Unless the membrane is so thin that you simply cannot remove it, it’s recommended to get rid of it. The good news is that the reason it’s usually impossible to remove the membrane is that it’s too thin and fragile. That’s good news because that means it’s thin enough that it won’t ruin your ribs.
That being said if you can remove the rib membrane, you should. Your ribs will have a more tender bite, be more evenly seasoned, and generally just be more pleasant to it.

